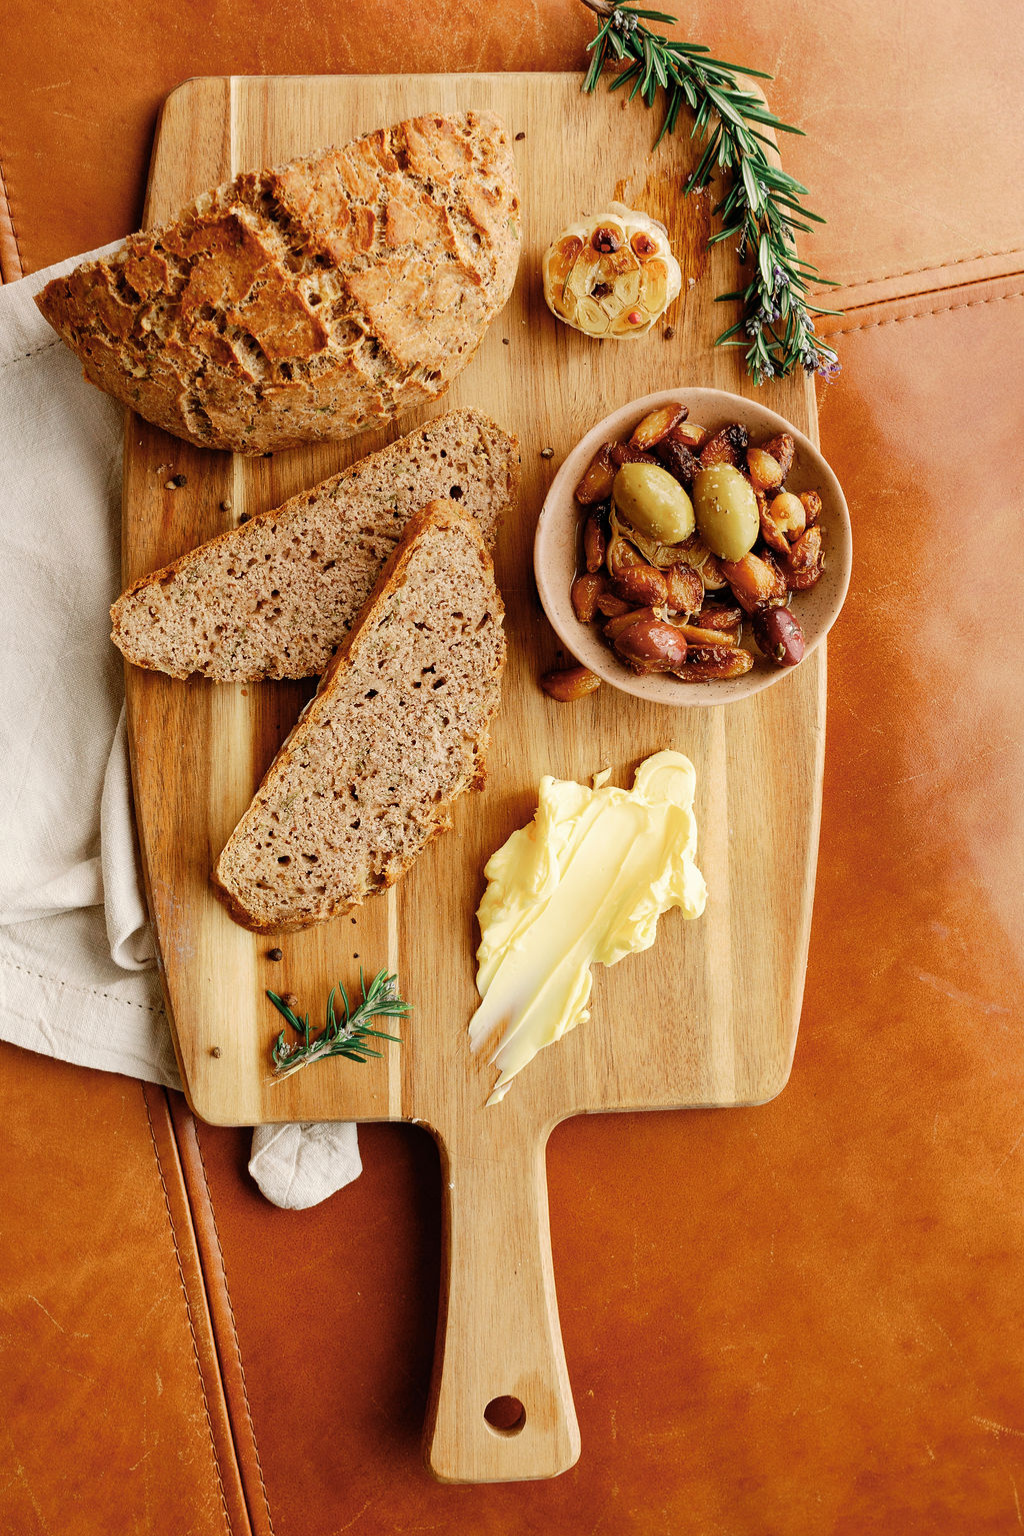

You will need
I love this quick, mix everything together in one bowl gluten free bread, no rising needed and then place into a hot oven, timer on and forget about it until it beeps. Perfect for enjoying the last few mouthfuls from the can once you're done!
Place a dutch oven or cast iron dish in to a cold oven, with the lid on, and heat to 200°C fan-bake. You want the dish to be super hot, so aim for a good 20 minutes before cooking the bread.
Combine the bread mix, salt, sugar, baking powder, herbs and garlic in a medium-sized bowl.
Make a well in the dry ingredients and add your beer.
Mix well until the dough rolls off the sides of the bowl. Don’t panic if it looks wet in the beginning, it thickens as you mix.
Tip on to a lightly floured surface and knead a little into a round shape.
Transfer to a piece of baking paper keeping the round shape.
With a sharp knife, make a large cross on the top of the bread.
Take your dish out of the oven, it will be very hot, be careful! Place it on a heat proof surface close to your dough.
Get 3 ice cubes ready, not essential but does help for creating the steam and a crunchy crust.
Using the baking paper, pick it up and place inside your preheated dish.
Place the ice cubes between the baking paper and the dish.
Place the lid, remember this is hot so use oven mitts!
Place the oven.
Cook for 30 minutes, then remove the lid and cook for another 15 minutes or until golden.
Leave to cool before slicing.
Storage:
Best eaten on day of baking or toasted the next day.


